The leftover bucket


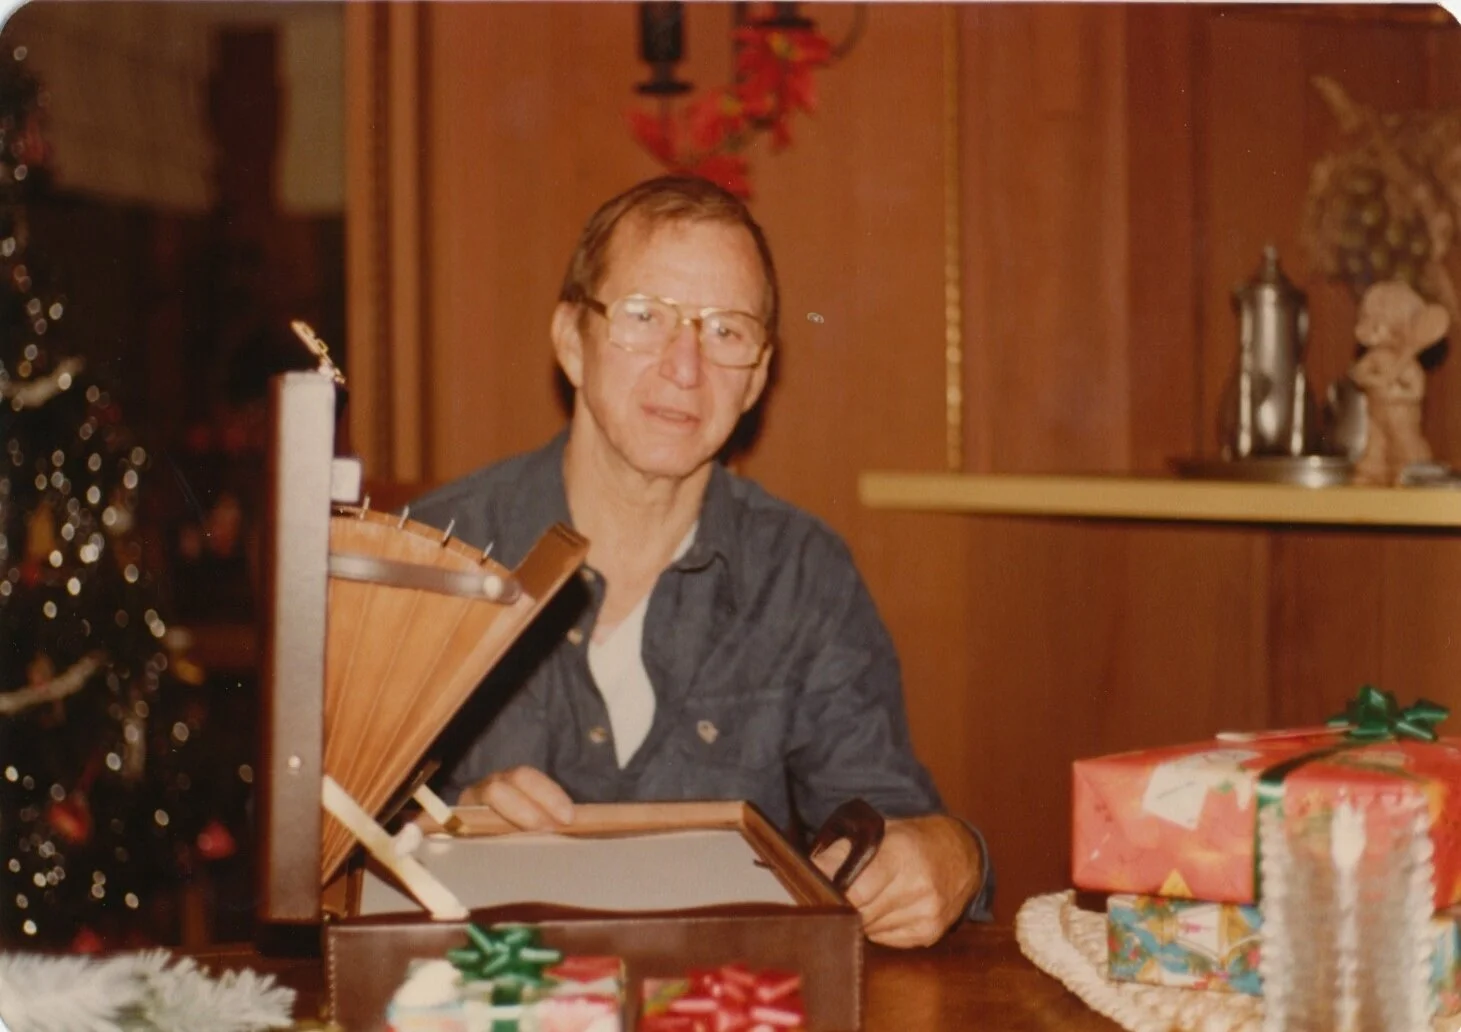
Growing up, I always thought of my mother as a fantastic cook. 

She worked full time as a nurse throughout my entire childhood, and still somehow always managed to have a meal on the table for us at night.  Not to mention the myriad of other things done to take care of the household. At some point in the early 1980's, she was a participant in the Mrs. Georgia pageant, right down to the swimsuit on the runway. My mother can kick June Cleaver's ass without breaking a sweat, is what I'm saying.

She has also always been extremely frugal. She was raised in the tiny little hamlet of Blue Ridge, Georgia, in the post World War II days. Her father worked in the copper mines, and her mom kept four kids and the house running. It would've been a sin to let anything go to waste that had a shred of usefulness left in it. 

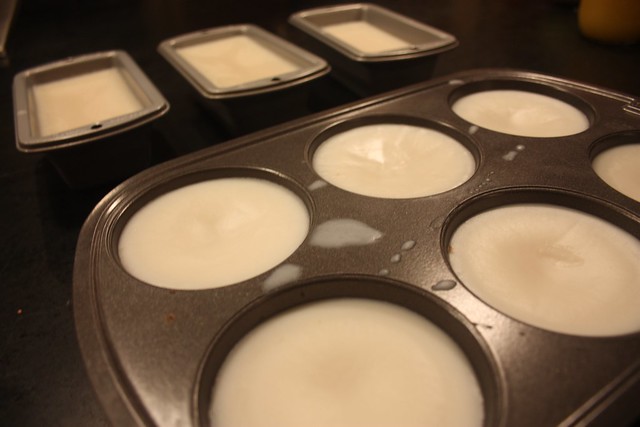
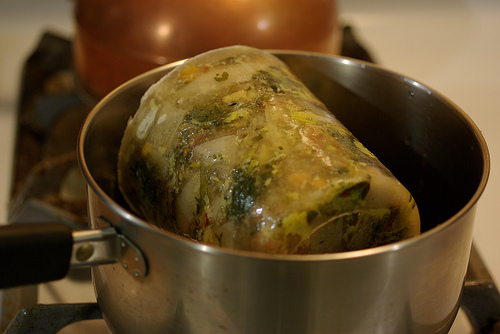
In our freezer, my mother kept a big, empty ice cream tub. (I never knew where the ice cream went. I certainly never ate it. But we were never short on the big plastic tubs when we needed them). 

Whatever she cooked, she cooked a lot of it. Often, there was a crockpot involved. Or one of those big electric skillets that you could set to "low" and walk away from. There were three kids in the house, and she had a busy schedule. We probably ate more than our fair share of lasagna, stroganoff, pot roasts or bean soup. It was also the 70's, so there were a lot of food that entered our kitchen in small, colorful boxes, or things that ended in "Helper". 

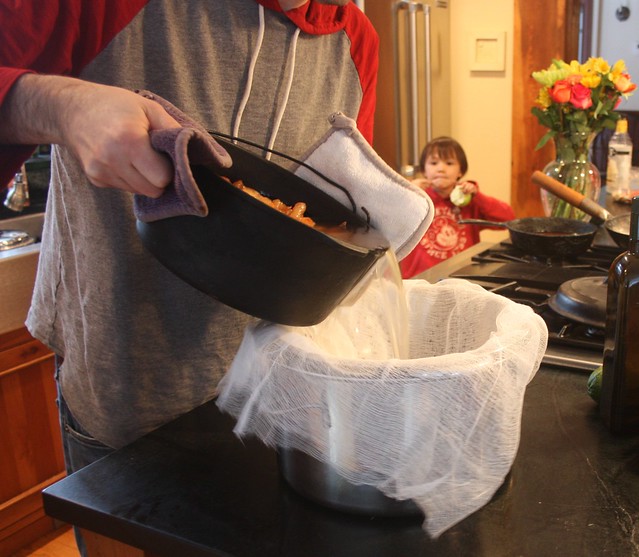
Whatever we didn't eat after the second night re-heat went into the big empty ice cream tub, and back into the freezer. It might be the leftover green beans. Or some spaghetti sauce. Or a crusty end of meat loaf. Or maybe some of that bean soup.  Over the course of a month or two, you could pull the tub out and look at the strata of leftovers of different colors and textures, like some sort of geological artifact in miniature. 

When it approached the handle of the tub, my mother would declare that the next day we would be eating leftover soup. 

I hate leftover soup. 

The tub would sit out on the counter, lumpy & covered in a little layer of hoarfrost with an occasional English pea or browned crusty onion (was that an onion? I think that was an onion) breaking the surface.  This would be dumped into the crock pot once it had loosened up a bit. She'd add a can of something from the pantry - this also varied. Sometimes diced tomatoes. Maybe cream of chicken/mushroom/celery. If there hadn't been enough solids in the leftover tub that month, she'd toss in a half bag of frozen mixed vegetables. (not the good kind. The ones that all tasted like penguin ass for having been left in the deep freeze section of Sav-a-lot for 6 years before being marked down as a 'must sale' item).  Whatever it "looked like it needed".  

A couple of cans of water to leven things off at the brim, and it would slowly meld together into soup while we were all out at school or work or wherever 

Remarkably - whatever had gone into the leftover tub all month, the soup always looked and tasted the same.  

And it wasn't good.

It was too thick to be a soup. Too thin to be a stew. It was always reddish. It always had things you didn't expect to find in it. Like kidney beans with your peas. Or corn with your stroganoff noodle. Or a hint of what I can only assume was the original rainbow sherbert that had been in the bucket. 

My brother still swears he liked this soup. My brother has always been a little off. 

Years later, I was in my parent's house over a long weekend, and they were headed out to some other prior engagement. (Which was odd in itself. They pretty much swore off of "prior engagements" when they retired and moved to the hills of Tennessee a few years back).  Despite the fact that I had lived and fed myself successfully as an adult for a couple of decades, my mother was worried that I wouldn't be able to find and create some form of sustenance out of whatever groceries were in the kitchen. 

"There's a leftover bucket in the freezer," she called as they backed out of the garage. "Make yourself some soup."

*shudder*

No thanks, Mom.  I'll find something else to tide me over.  


Rendering lard

Lard is good. 

There. I said it.

There has been something of a resurgence of interest in lard. At least amongst the serious food writers and research. For so long, we were fascinated by all of the 'lard alternatives' made from vegetables of one sort or another: corn, peanut, palm, etc. - made liquid or solid by hydrogenation. And then suddenly, we figured out that - while scientifically interesting, vegetable shortening isn't really any better for you. Except for olive oil. Olive oil is better for you than vaccines, fish heads, or gamma rays. Or something. 

But what about poor old lard? All those pigs and cows we kill off for our bacon burgers, and what happens to the white stuff that tidily wraps up all that lean meat we like to buy from the grocery store cooler cases? 

Turns out, it's pretty good for you too, and back on the good list

Anyway, I end up with lots of it from my pigs, and it is far too good a resource to chuck out or let go to waste. 


There are three basic kinds of lard in your pig you should be familiar with: 

1. Leaf lard (above). Also known as 'flare fat', it is the purest white fat that accumulates in long, lovely form around the kidneys and organs of a pig. This lard is not always available without speaking to your butcher, but is to be treasured. It's ideal for making pastry because of the crystalline structure of the fat molecules, and because of its clean and mild - almost non-existent taste. 

Whether for a piecrust or a biscuit, this lard is the stuff you're after. 

2. Caul fat - There's a netting of fat around the intestines that looks kind of like a basketball net or thick spiderweb. It's absolutely impossible to get ahold of in the US without calling in a few favors.  It's extremely useful for wrapping up a lean roast (like venison). It turns a golden lovely when cooked, and imparts the needed moisture to the roast.  Apparently. I've never actually scored one with my pigs, as it's a little fussy to separate from the organs, and most slaughterhouses don't bother.  I've put it on my list for next year.


Several pounds of fatback

3. Everything else.  Back fat. Belly fat. There's plenty of good fat on a pig, mostly in the layer between skin and meat. Many breeds build up 1-2 inches (or more), especially on their back above their shoulders and spine. This fat is gorgeous and pure, but has a slight pork taste (as opposed to the leaf lard), and a slightly more elastic structure. It's used for frying, making fatback and salt pork, and of course lardo - a kind of salami like cure made of the best of the fatback, sliced thin and served as an appetizer.

The render

Rendering pork fat is both a necessary and simple process. The fat is generally attached to little bits of meat, skin or membrane that needs to be separated to leave you with the pure, clean white stuff you're looking for. Fortunately, it couldn't be easier. 

Good lard has a relatively high smoke point - one of the reasons it is so much more useful than vegetable oil. So all you're really looking to do is to melt the lard off of the rest of the bits, and put it away neatly for future use. 

I started with my leaf lard - although you can mix them all together, it's useful to keep them separate as leaf lard is more useful if pure for pastry making later. Leaf lard, when chilled, is so firm it feels crumbly. But it does come with a thin, papery membrane wrapped around it. And it's useful if you can pull that off first, as best you can. 


It is not strictly necessary to get all this membrane off. Just do your best in whatever time you have available. You are going to have lots of unrenderable bits left over - the best of which are called crackling, which you can eat. This membrane is pretty useless, though. (At least, to me. I fried it up lightly and threw it to the dog, who enjoyed it and seemed happy to deal with my useless butchery bits, as usual). 

I chop all of my fat - leaf or otherwise - roughly into manageable pieces. 1-2 inches or so. It's going into a large dutch oven, and I can both fit more in, and it will melt more evenly that way.  The smaller the pieces, the faster it will render. 


While you can render lard over a flame or on a burner, you have to watch it a lot more closely, stirring often and making sure you don't let it scald. And who has time for that? 

The simplest way to render lard is to add about a quarter cup of water to the pot, and put it in an oven between 225-250 degrees fahrenheit. Check on it in a couple of hours, but expect it to take 4-6 hours (or longer) to render completely. You can even use a crock pot and leave it to go over night. However, I do find it useful to pour off the liquid lard into your catch container at least once, depending on the volume. 


This is my other dutch oven - an old fashioned cast iron one that's as useful cooking a pot of beans over a fire as it is in the oven. Bonus: my pot is well-seasoned again after this process. 

I line a colander with cheesecloth just to ensure I catch any little bits from collecting in the lard. Not that it would do much harm, but I want that pure, white end product. 

Eventually, the bits in the pot will turn a golden brown. You're pretty much done then - having gotten about as much rendered lard as you're going to get.

Foods fried in lard fry very crisp and actually absorb less grease than from most vegetable oils. Because you can get the temperature nice and high (the smoke point is 400F, vs. peanut oils' 325F), the water flash-boils out of the food and prevents the absorption of fat back in, which is why it's important to have your oil nice and hot before you begin cooking with it.


Good lard will last for a couple of months in your refrigerator, or a year or more in the freezer. I pour it into small loaf pans and these 'Texas-sized' muffin tins to set up. A half hour or so in the freezer, and they pop right out into a ziploc bag for easy storage and grab-and-cook convenience. 

The remnants and crackling gets split between the dog, the chickens and a few choice bits saved back for us. 

A note on the freezer storage - I always label everything clearly so I know when it went in, and where it came from. You've got to label your fat, as it's hard to tell them apart after a couple of months in the back of the freezer. 

Is it as good for you as extra virgin olive oil, or fish oil, or the light sweet crude oil from the infertile offspring of a unicorn and a manatee? Ok, probably not. But it's better for you than your mother told you, simpler to work with, and will give you better and tastier results in your recipes.  Which means you'll end up using and eating less than you would if you were using the bad stuff anyway. 

So enjoy a bit of lard, guilt free. I give you permission. 

Cochinita pibil

My Bride turns 41 tomorrow. As I'm still in my thirties, I have a hard time imagining what it must be like to have reached such a venerable age. (and I will keep rubbing it in until later this year, when I hit forty myself). But because I was taught to value and respect the wisdom that our elders bring to us, I thought I'd make up a special dinner this weekend. 

I've just finished reading a fabulous book - all about one man's quest for the perfect slice of ham, and I was feeling inspired.  


The author, Peter Kaminisky, writes professionally for Field & Stream and Food & Wine. He also used to be the managing editor of National Lampoon, which explains a lot about why I was laughing out loud so often at this truly pleasurable book. 

This says "A brief history of pigkind" if you can't read it. This is my kind of book.


One of his journeys to define the best pork known to the Western Hemisphere took him to Mexico. And he described a dish so perfect that I had to try making it.

Cochinita Pibil is a pork dish traditional to the Yucatan area that combines citric juices and slow, slow roasting of the meat. Traditionaly, it was buried ('pibil'), which isn't exactly practical in New England in January. 

Here's the recipe I used from the book above - with a few modifications of my own to keep it on the simpler side. 

Cochinita Pibil

  • 2-3 lb pork shoulder or butt. I prefer bone-in, but hey. Use what you have. 
  • 1 medium onion, sliced
  • 1.5 cup pork or chicken stock 

Marinade:  

  • 2 tbs achiote seeds or annato powder 
  • 1.5 tsp allspice
  • 1 tsp black pepper
  • 1 tsp cumin
  • 0.5 tsp cinnamon
  • 1 tbsp dried oregano. Mexican oregano if you can get it. 
  • 3 tbsp white/cider vinegar
  • 6 garlic cloves, peeled & diced fine
  • 1 tbsp salt
  • 1 tbsp olive oil
  • 1/4 cup grapefruit juice
  • juice of 1 fresh orange

Directions: 

  • Combine all ingredients of the marinade except the citrus juice. Achiote seeds or annato powder can be found in a reasonably well stocked Mexican aisle (or in a Filipino grocer). It adds both color and some aroma, and is useful for several Spanish dishes. So go ahead - buy a whole pack.  You want the marinade to end up as a paste - you can run it through a food processor, or just grind it up in your mortar & pestle. I did the latter, because I didn't feel like cleaning up the processor afterwards. Besudes, it's fun to mash the hell out of everything.  Now go ahead and add it all to a bowl and add the citrus juice. Traditionally, this is made with bitter orange juice, which can be a little hard to find. So grapefruit juice (which seems to be available anywhere that white people live) and orange juice will do you just fine. 
  • Rub this onto the shoulder - flip and rub the other side. Now put it in the fridge and walk away until the next day. 


  • This will smell like heaven and you will thank me.
  • The next day, pre-heat your oven to 325F. Find your handy dutch oven (le creuset, or other) and heat it up on the stove top. Scrape the marinade out onto a plate (save it!) and sear the pork on the outside in a little oil.  Once browned on all sides, add your marinade scrapings and juice back into the pot, along with a cup and a half of stock, and top with fresh sliced onions.  It should come most of the way up your pork. 

Note: In traditional Mexican cooking, the pot would've been lined with banana leaves, and wrapped around the pork. This retains the juices and allows it to steam itself tender when put into a charcoal lined pit. The dutch oven is doing similar goodness for us here. But if you ever get the chance to cook or eat this the traditional way, you should. 

  • Bring the pot to a boil on the stove, and then pop it, covered, into your pre-heated oven. Come back 3.5 - 4 hours later. Don't bother checking on it in the meantime. Do what we did and go have a birthday eve nap, if you can.  


  • When you pull it out, it should be ready to fall off the bone. Pull the meat out of the liquid and shred it with a couple of forks.  I piled it back into the enamel pan I used to marinade it (cleaned, of course), and squeezed the juice of another orange on top and put it into the oven on a low broil, to crispy-caramelize just a bit while I finished the rest.  
  • Put the liquid from the pot back on the stove and bring to a fast simmer. This reduced sauce becomes a fantastic topping for your tacos. 
  • Top as desired - with a spoonful of the reduced sauce to finish - and serve! 


I served it with a fresh cucumber-pineapple-habenero salsa, roast sweet peppers, slices of avacado and warm tortillas. Accompanied with a grilled corn/tomato/cilantro salad and a squeeze of fresh lime.  The flavor of the pork is nuanced with citrus, garlic and spices. It's an amazing meal. 

This won eye-closed blissful approval from everyone in the house.  Definitely a keeper - and because the shoulder is so big, it's a great entertaining meal as well. It's as easy to cook for 8 as it is for 4. 

I will note that my Bride went a little lighter on the habenero.

But she is over forty now, so we must make allowances, I suppose.