Yep. That's a whole pig.
/A couple of weeks ago, we decided to throw a party. It's summer, and that was a good enough reason for us. It's been a while since we had a pig roast, so we figured we'd invite a bunch a people over, and eat ourselves a pig. In our past events, we had always had the pig cooked and delivered the day of the party. But in a fit of inexplicable inspiration, I suggested to my Bride, "let's cook it ourselves this year!" She said 'Yes'.
This is why I married her.
Unfortunately, it had been more than 25 years since I had been involved in cooking a pig. And that was mostly just watching an older set of cousins and in-laws do all the work, and occasionally getting to fetch another beer from the cooler for an uncle. My memory didn't offer much up in way of pig-cooking technique. I felt strong in the Google-fu, though. I figured we could sort something out.
A few searches later, and I was able to sort out several distinct & passionate schools of thought on backyard pig-cookery. There's your classic "on-a-spit-over-fire" group (divided into the fancy 'electro-spit' models and the classic stand-there-and-turn-it-by-hand groups). Then there's your "dig a hole, light a fire, and bury the pig" group (this is the one my cousins fell into). There's the luau group. (I discarded this immediately. I'm from Georgia. My people do not cook with pineapple juice.) And, of course, there's the "backyard porker experimental surgery" group. (Though maybe that was just my father, The Surgeon.)
Since I knew we'd be getting back from Maine less than 24 hours before the pig would have to meet fire, I figured I'd go for something straightforward, simple, and classic. My original plan was to rent a spit. But the nearest place I could find was about a 5 hour round trip away. Which was a bit much, really.
I talked it over with a buddy from work with a bit of recent piggery experience, and my butcher, Mike, who was sourcing me the pig. "There's nothing that an hour at Home Depot can't solve," says Mike.
Mike is a very wise man.
So the evening before the roast, the kids and I started stacking cinderblocks.

You may note that in an effort to really bring a little Appalachian-authenticity north for the occasion, The Boy is wearing no pants. That's not something you can train for, I might add. That was pure, beautiful instinct on his part.
Within an hour, with a few dozen blocks and some re-bar, we had the makings of a pig roast. I told my neighbors that our 'hood had gotten a little classy lately, and was due for some cinderblocks. I'll try and refrain from putting a car up on them later on.
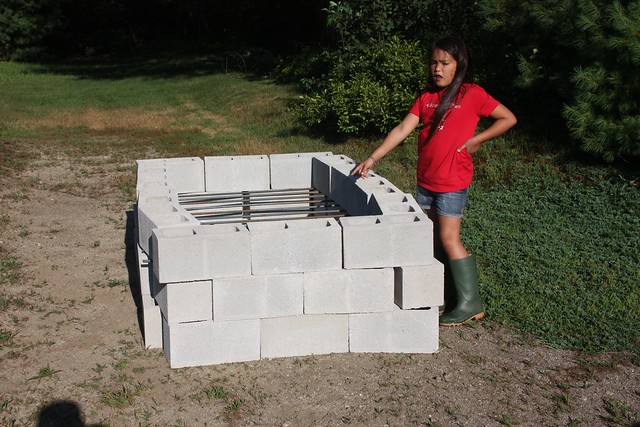
For my OCD friends, the blocks are intentionally askew a bit to create some air flow opportunities. Or some other scientificly convincing reason that kept me from having to put too much effort into things.
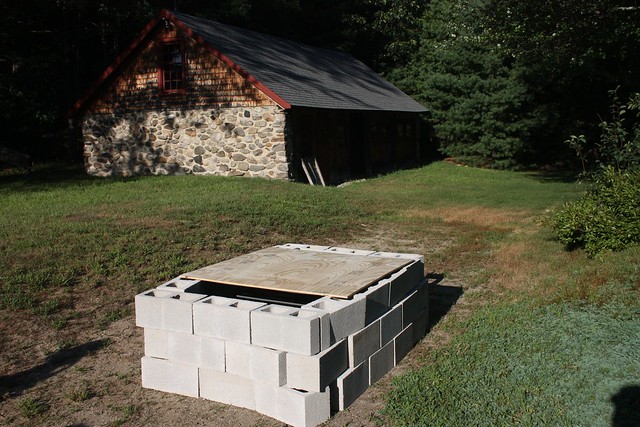
I screwed some sheet metal to the bottom side of a plywood 'lid', and we were ready to go. I wasn't sure exactly how long it was going to take to cook a whole pig, so I bought a mess of charcoal, just in case.
In the morning, I woke up around 6:30 and stretched out our piggy friend on an empty bag of feed across the tailgate of my truck. I scored the skin on her back with a razor knife a bit in a rough diamond pattern, and gave her a brisk "you sure look tasty" deep tissue massage with a couple of cups worth of kosher salt.
And without being all judgy, if you don't like the thought of handling that much pig that early in the morning, go ahead and think about the pack of bacon sitting in the bottom drawer of your fridge.
Unless you're a vegetarian. And then you can go ahead and be grossed out if you want.
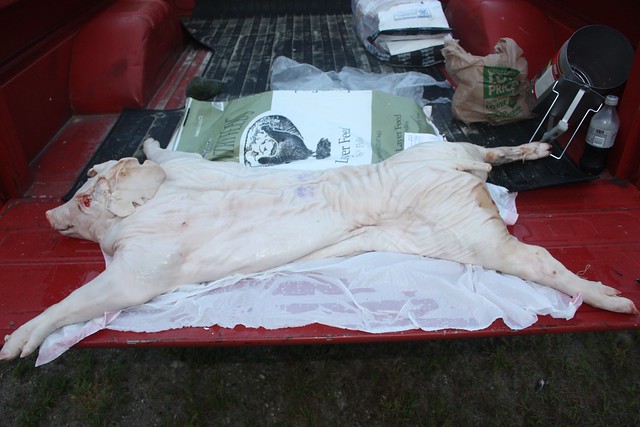
My pig was a hair or two over 75lbs, dressed. (Literally, in this case. The butcher had shaved her for me, and there wasn't much more than one or two hairs left on the carcass). I started off with most of a bag of charcoal on either end of the oven - nothing in the middle. Turns out, this was too much, as the oven quickly rose to over 300 degrees. I wanted it to sit around 200 to 225F. With the pig butterflied, it was going to cook quicker than on a spit, so I let the coals cool some, and left the lid off for a while and warmed her back up around noon, adding a few briquettes every once in a while as the afternoon wore on.
The meat thermometers at the grocery store had the "your pig is done" label someplace around 175 degrees. That gave me as good a target as any, I figured.
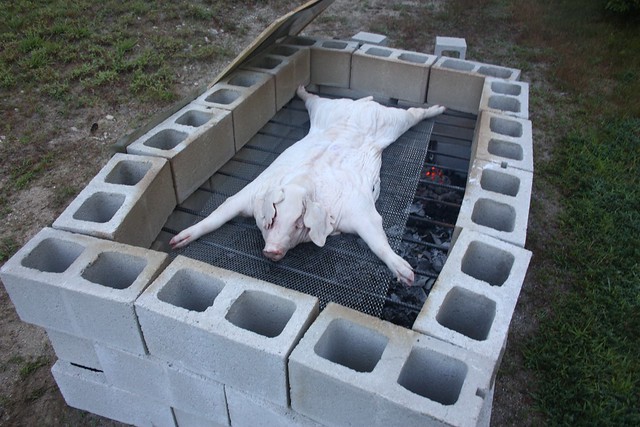
Note: that's a sheet of concrete re-inforcing mesh under Wilburina. The meat gets tender enough that the joints will just fall apart when you flip it (and the last hour or so, you want it back-to-the-fire to get the skin nice and crisp). According to the Google, it's important to not use galvanize steel for this. I'm not 100% on the technical process, but apparently "galvanized" can be loosely translated as "will give off fumes that make you want to die when heated". Which sounded like it would be a bit of a damper on the party vibe. It limited my options, but again, Home Depot had an option that fit the bill nicely.
A few hours later, and we had a pig ready to be served. I filled the time trying to make my Bride think I was working hard over the pig, and avoid the really hard stuff that was going on in the side dish preparation and chicken frying in the house.
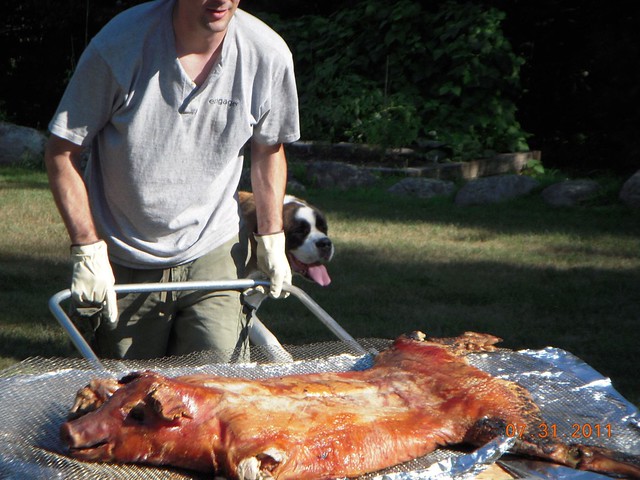
Take an extra look at the conveyance. That's the handle from my garden cart. I figured I should keep with the theme.
We ended up with about 80 people in our backyard (including a Juilliard-bound fiddle player I met at the Farmer's Market the week before), and a whole mess of sides to accompany the pig of honor. Our guests gave us way too much credit for the seriously low effort it took to turn out a handsome pig. The skin was crisp and a little bit salty. The meat was juicy and tender. We even threw some ears of corn that one of our guests brought from her garden on the grill to roast.
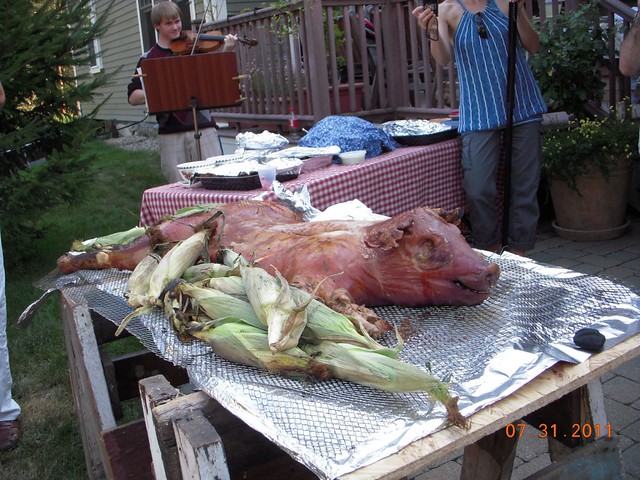
As people munched and pulled and enjoyed and some of my friends and I arm-wrestled for the choicer bits of crisp crackling (I made Carolina-style vinegar/mustard BBQ sauce to top things off), we wrapped up the evening with a movie on an outdoor screen (the Goonies! Old school awesome), and chatting in the balmy summer sunset. After the last of our friends left and I went out to pick over the pig carcass, we had about a good half-tupperware container left of pork to put away.
And with that, I'm declaring it a glorious victory of the pig cooking.
Meanwhile, if anyone needs some extra cinderblocks (with scratch-and-sniff bacon aroma), please send them my way.
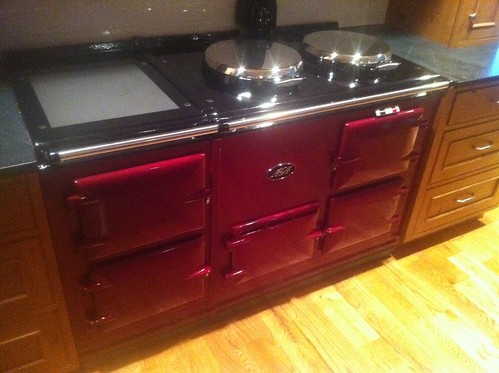
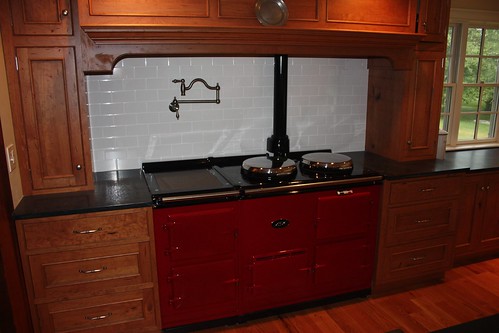
 Holy crap was this one of the best things I've eaten in a while. And I sleep every night with a fantastic cook. Recipe from Jamie Oliver's


